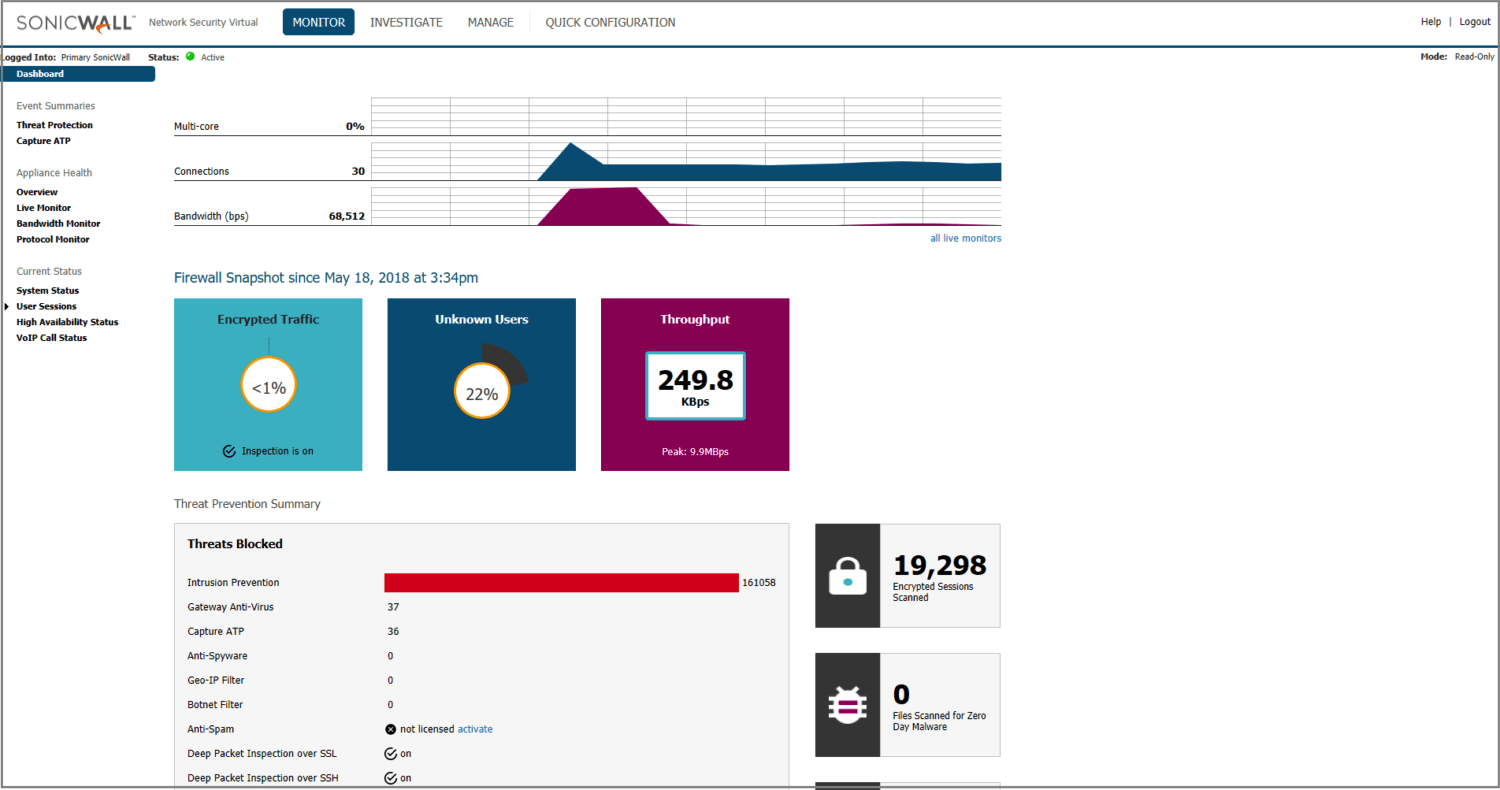
The SonicWall NSv series virtual firewall provides business users with the scalability of a cloud-based firewall as well as all the added perks of a physical firewall. Compatible with both private cloud platforms, such as ESXi and Hyper-V, and public cloud platforms, including AWS and Azure, the NSv series offers a range of flexible deployment options and low cost of ownership.
On this page, we take you through the key specification for the NSv 200, as well as all you need to know about setting up a VPN connection for your NSv virtual firewall.
Configure VPN for a SonicWall NSv firewall
Follow these steps to set up a VPN connection on your NSv virtual firewall:
- Open the network interface for your device.
- Note down the public IP address.
- Configure the Pre-Shared Key / Shared Secret (check our detailed configuration guide for more information.)
You are now ready to configure your connection on your Mac.
Set up a Mac VPN connection for a SonicWall NSv 200 firewall
VPN Tracker 365 is fully compatible with SonicWall Simple Client Provisioning, which makes it easy to import your VPN connection settings from your NSv to your Mac.
VPN Tracker is the best macOS VPN client for SonicWall NSv virtual firewalls. Follow these steps to start using your newly configured VPN connection on your Mac in VPN Tracker 365:
- Download VPN Tracker 365 free and install the app on your Mac.
- Set up a new Company Connection and choose SonicWall NSv from the list.
- Enter your device's IP address and select Simple Client Provisioning. VPN Tracker 365 will now recognize your firewall's settings
- Click done to save and test your connection.
You can now use your SonicWall VPN connection on your Mac. You can find more detailed device info for SonicWall's NSv series
here
Download VPN Tracker Learn More
