The #1 VPN Client for Mac, iPhone and iPad

The #1 VPN Client for Mac, iPhone and iPad

Overview
Features
Compatibility
For iPhone & iPad
Pricing
Teams
Support
VPN Tracker World Connect
Blog
Sign up
Login


TP-Link Archer A9

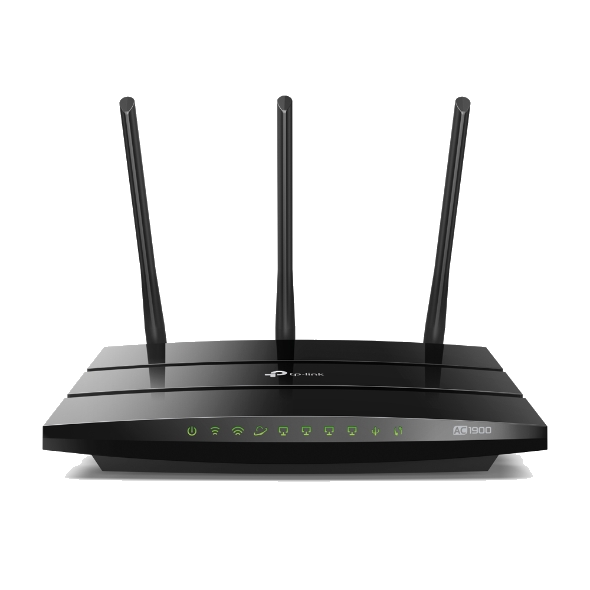
TP-Link Archer WiFi routers are a great choice for home office and small business users. With impressive WiFi performance and full support for OpenVPN connections, getting set up with a VPN connection is really easy.
On this page, we take you through the key technical specification for the TP-Link Archer A9 and show you how to configure an OpenVPN connection on your TP-Link Archer WiFi router.

SeriesTP-Link Archer WiFi Routers
ModelA9 (AC1900)
Recommended forHome office (1-5 users)
Supported VPN standardsOpenVPN, PPTP
Built-in WiFiyes
ProcessorDual-Core CPU
Additional featuresDual-Band WiFi, Guest Network Access, Dynamic DNS, OneMesh support
Device StatusActive

Configure VPN for a TP-Link Archer A9 WiFi router

Follow these steps to set up a VPN connection on your TP-Link Archer router:
  1. Log in to your TP-Link router’s web interface and open the OpenVPN configuration
  2. Enable the OpenVPN server and download the OpenVPN configuration file
  3. Optional but recommended: Enable Dynamic DNS (refer to our configuration guide for more details)


Set up a VPN connection to TP-Link Archer A9


VPN Tracker is the best VPN client for TP-Link Archer routers. Follow these steps to start using your newly configured VPN connection on your Mac, iPhone and iPad in VPN Tracker :
  1. Open the VPN Tracker Connection Creator for TP-Link Archer
  2. Drag and drop your .ovpn file to instantly import your settings
  3. Save your connection in your account for secure VPN access on all your devices

Connect to TP-Link Archer VPN